Skip to content
Flirting with Creativity
Home
About
Craft Your World
Crafty projects that I’m proud of
Latest Painted Rocks
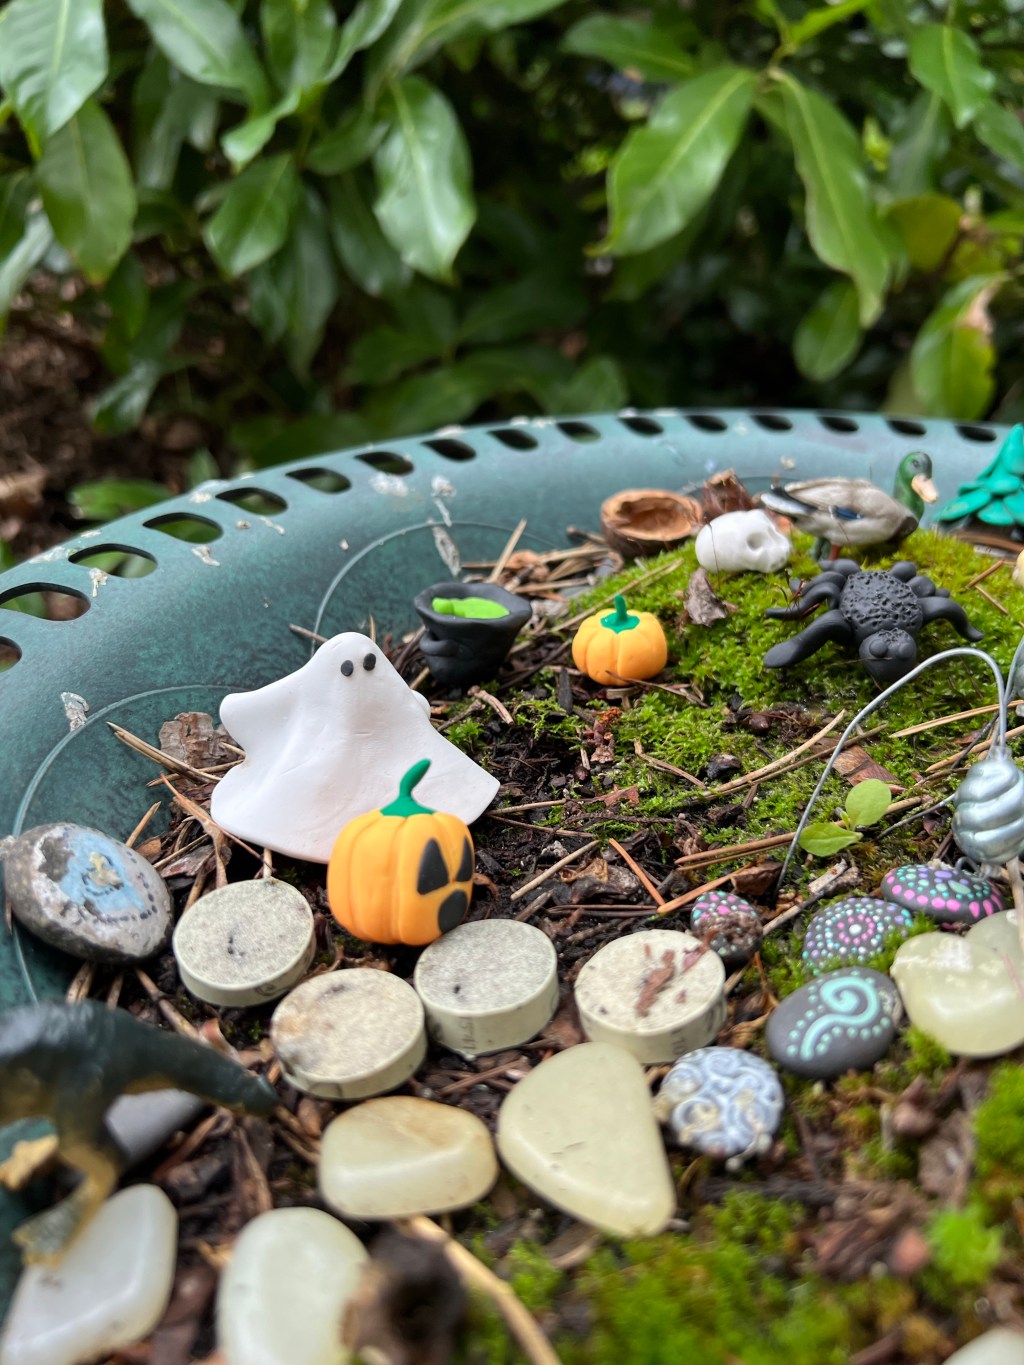
Spooky season in the fairy garden
Fairy Garden: Part IV
Fairy Garden: Part III
Fairy Garden: Part II
The Whimsy of Color
Coaster Reuse Take 2 – Christmas Ornaments
Felt art animals
Animal Frames
Recycle Glass In An Artful Way – Part 2
1
2
Next Page
Subscribe
Subscribed
Flirting with Creativity
Join 478 other subscribers
Sign me up
Already have a WordPress.com account?
Log in now.
Flirting with Creativity
Subscribe
Subscribed
Sign up
Log in
Report this content
View site in Reader
Manage subscriptions
Collapse this bar