A friend of mine asked me if I would think about art projects that kids could do, but would look good enough that people would purchase them. Pinterest has a zillion ideas, so I started there. However, one night while trying to sleep, I had an idea about a frame that could potentially fit the bill and was cheap to make. I scribbled my idea in my notebook next to my bed and left it for a rainy day. Yesterday was that rainy day. I had a frame on hand from Michaels that has a heart cutout for the photo. It cost a whopping $1.

It started with a frame and an idea….
I searched through the decorator fabric samples I had on hand and decided on a pattern. Then I accented it with felt and another solid, textured fabric and some variegated yarn.

The materials
I created 3 different sizes of hearts to use as a template and began cutting them out of the materials.
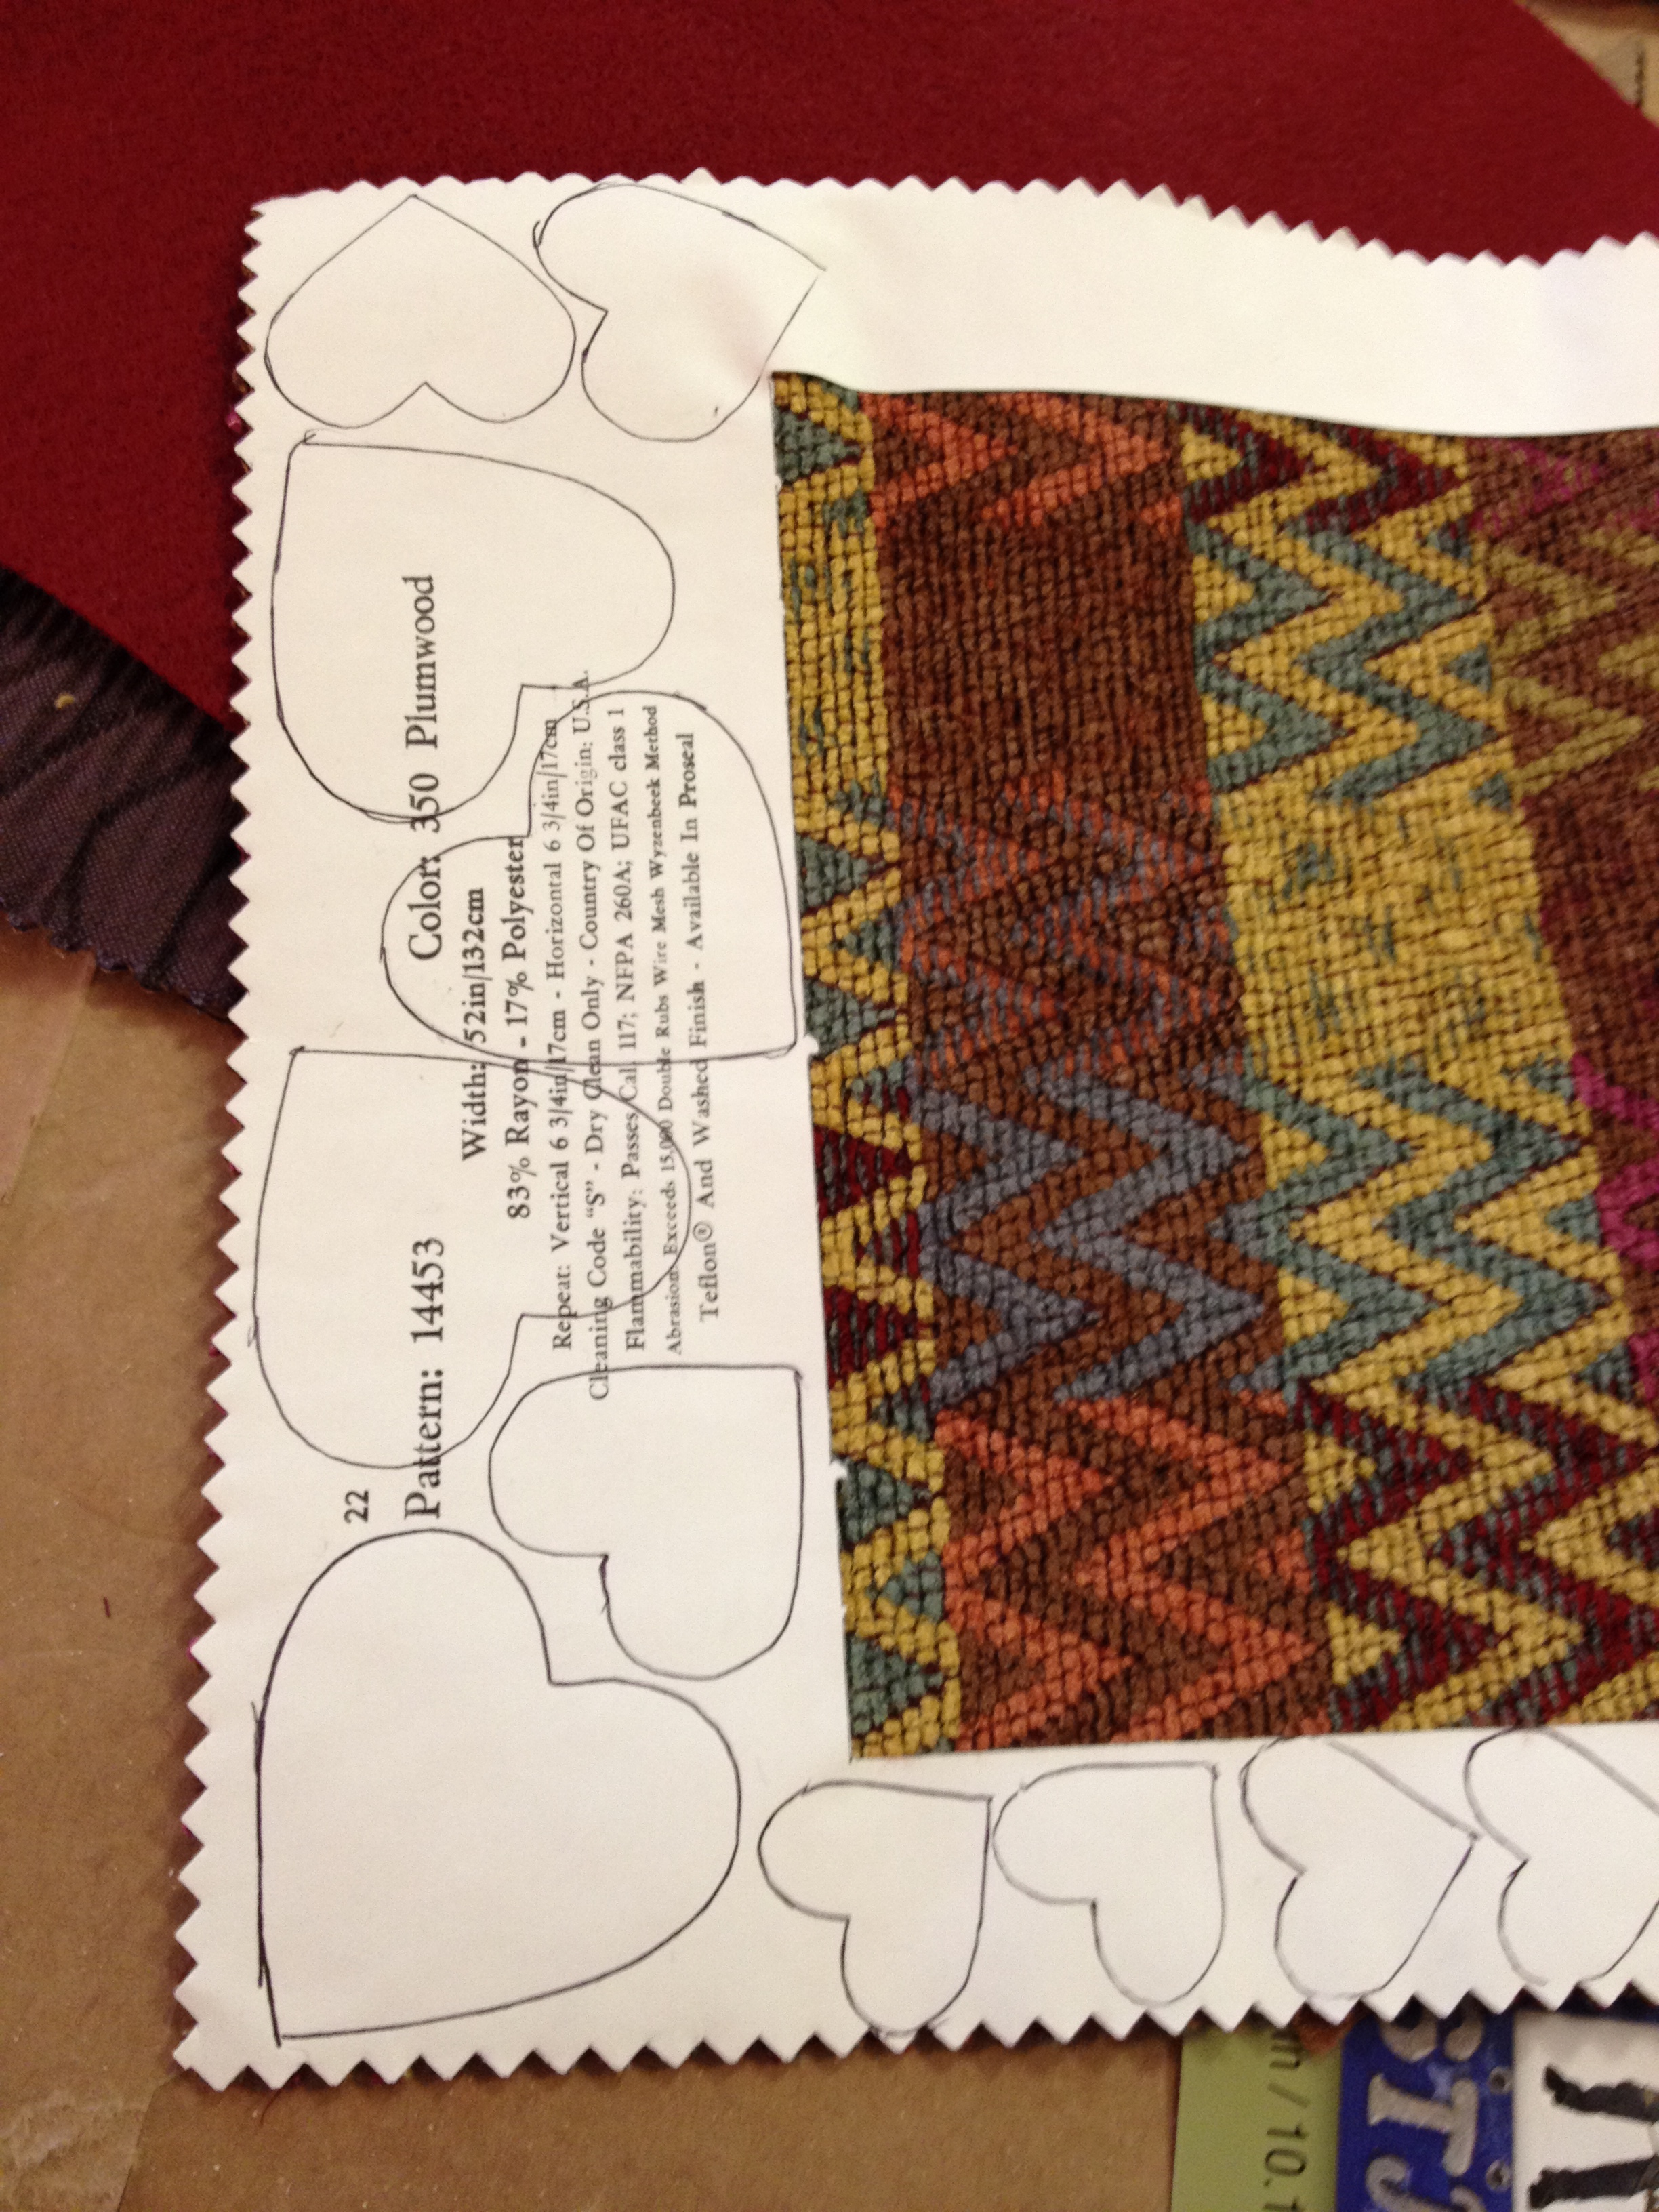

Tracing and cutting out the hearts
In order to avoid any wood show-through on the finished product, I painted the frame a dark blue.
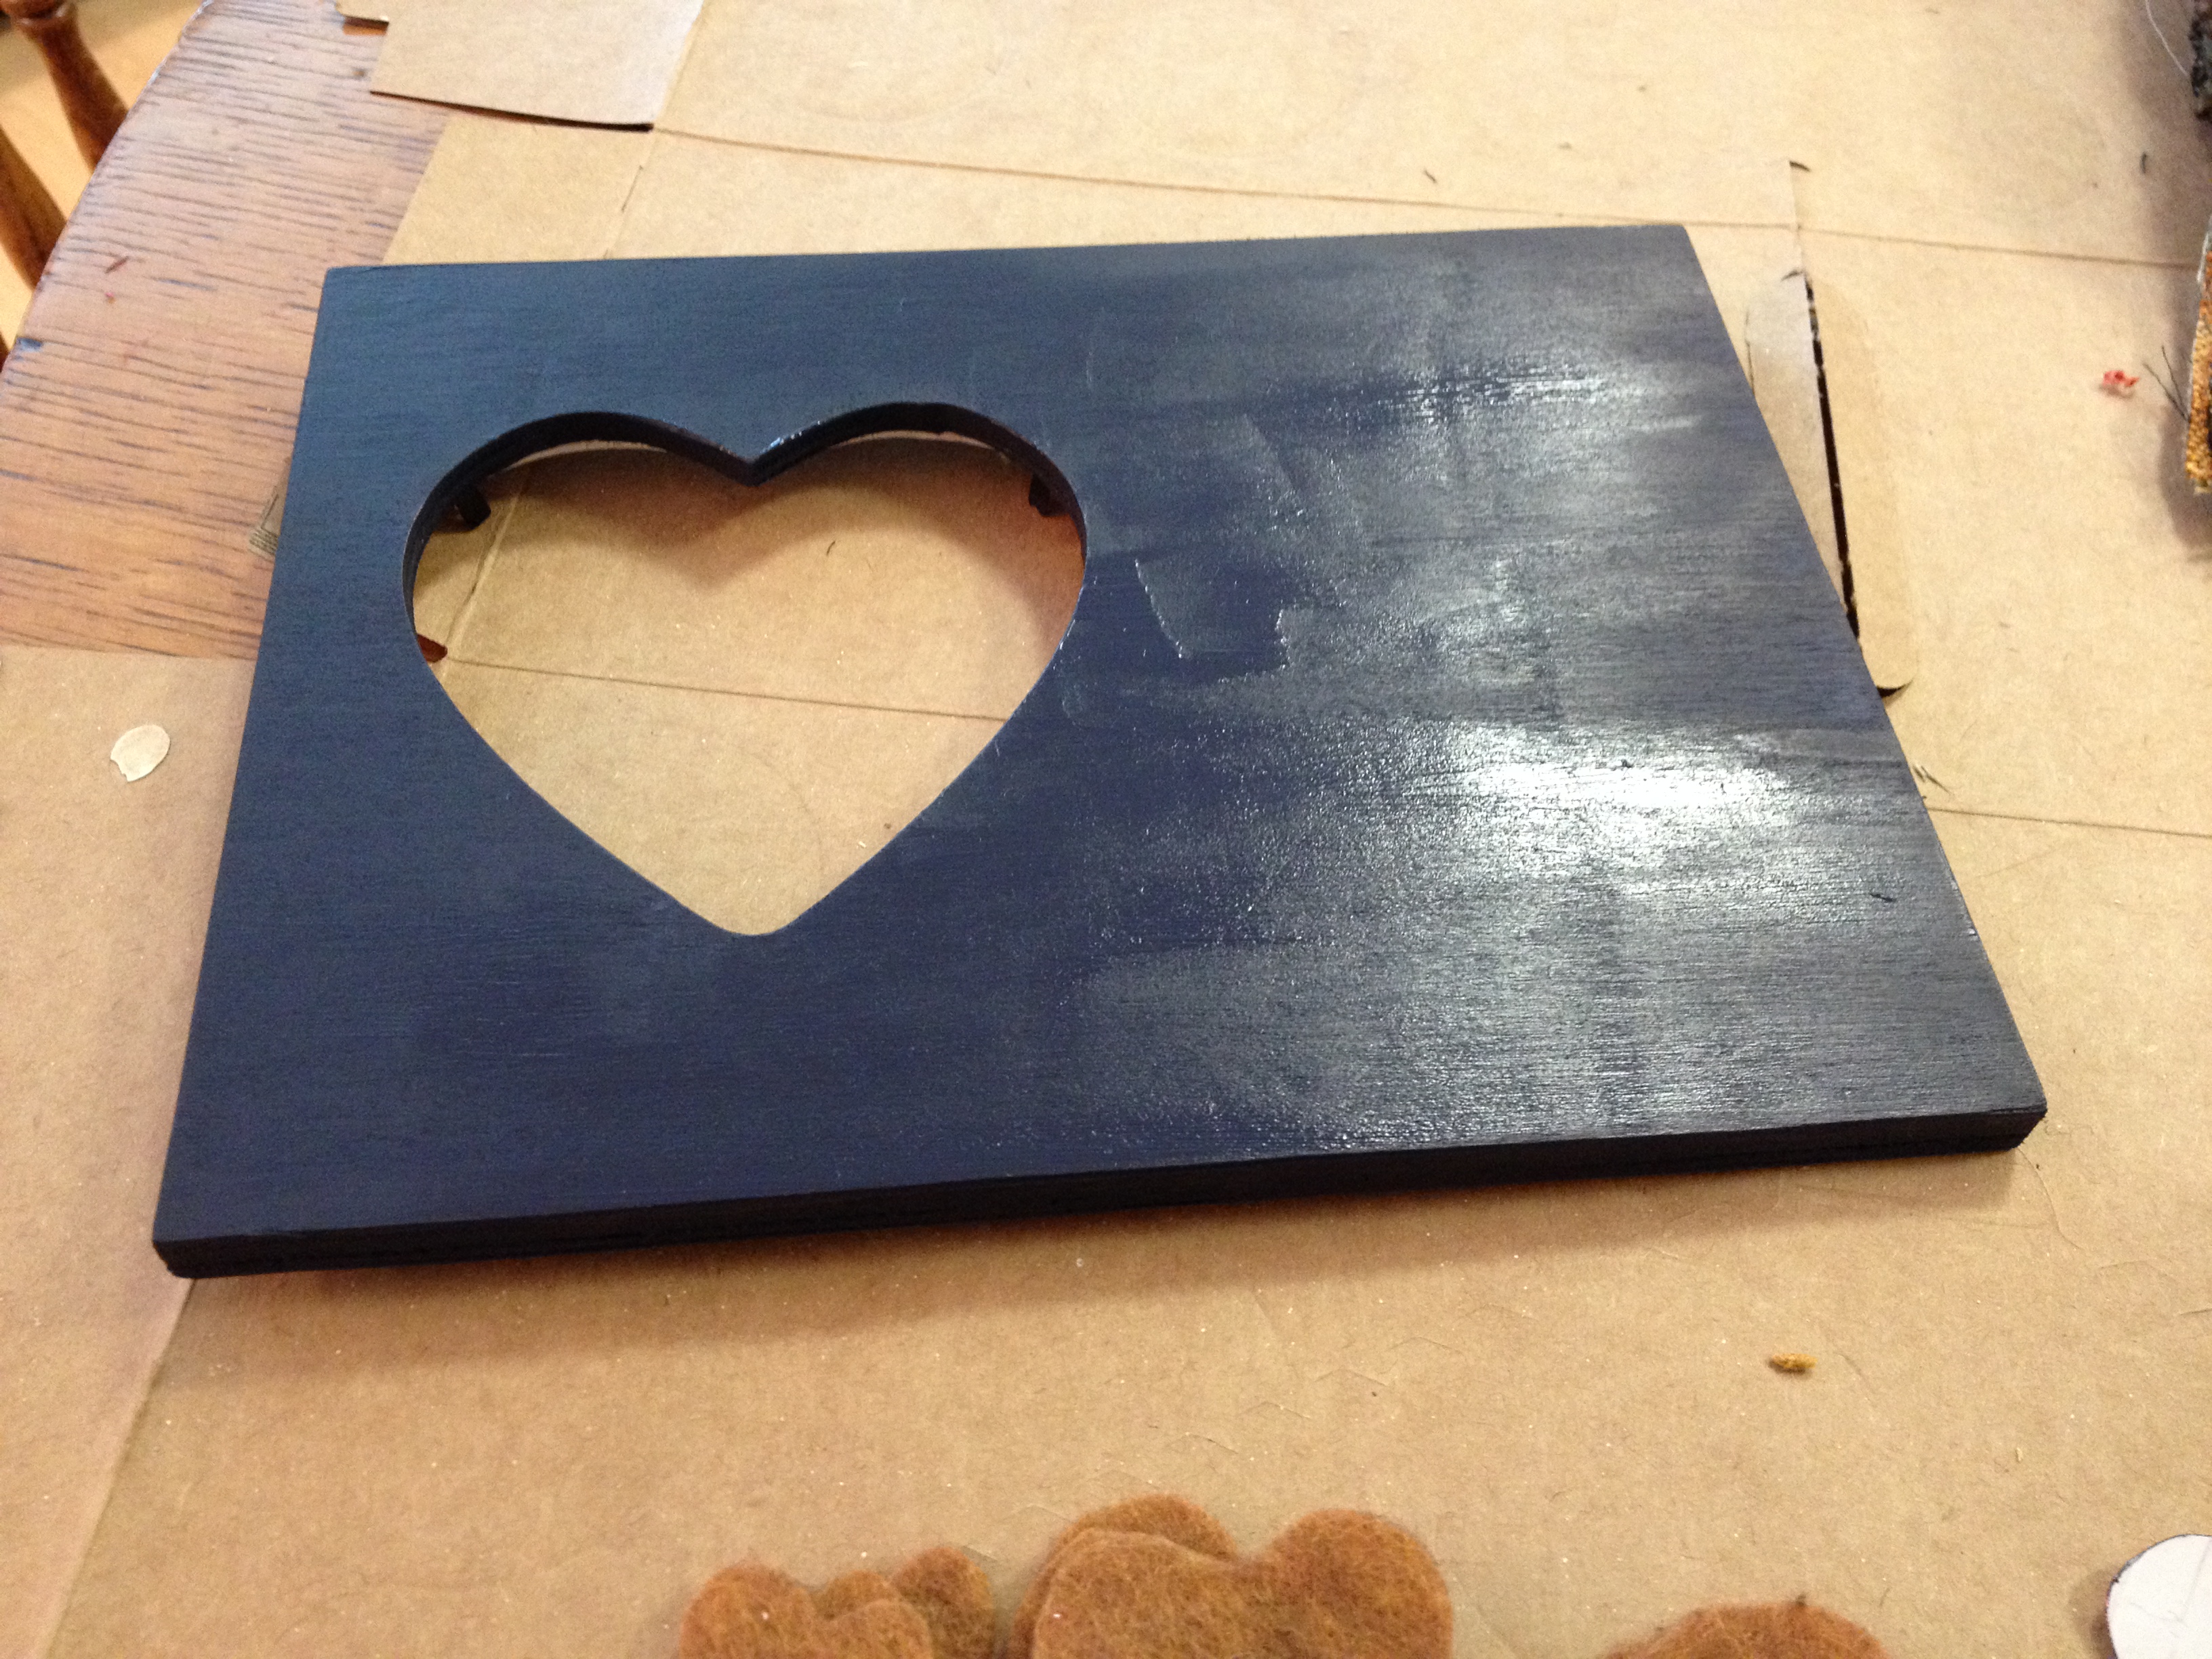
Painting the frame
After it was dry, I used Tacky Glue and began placing the hearts on the frame – placing them in all different directions and overlapping.
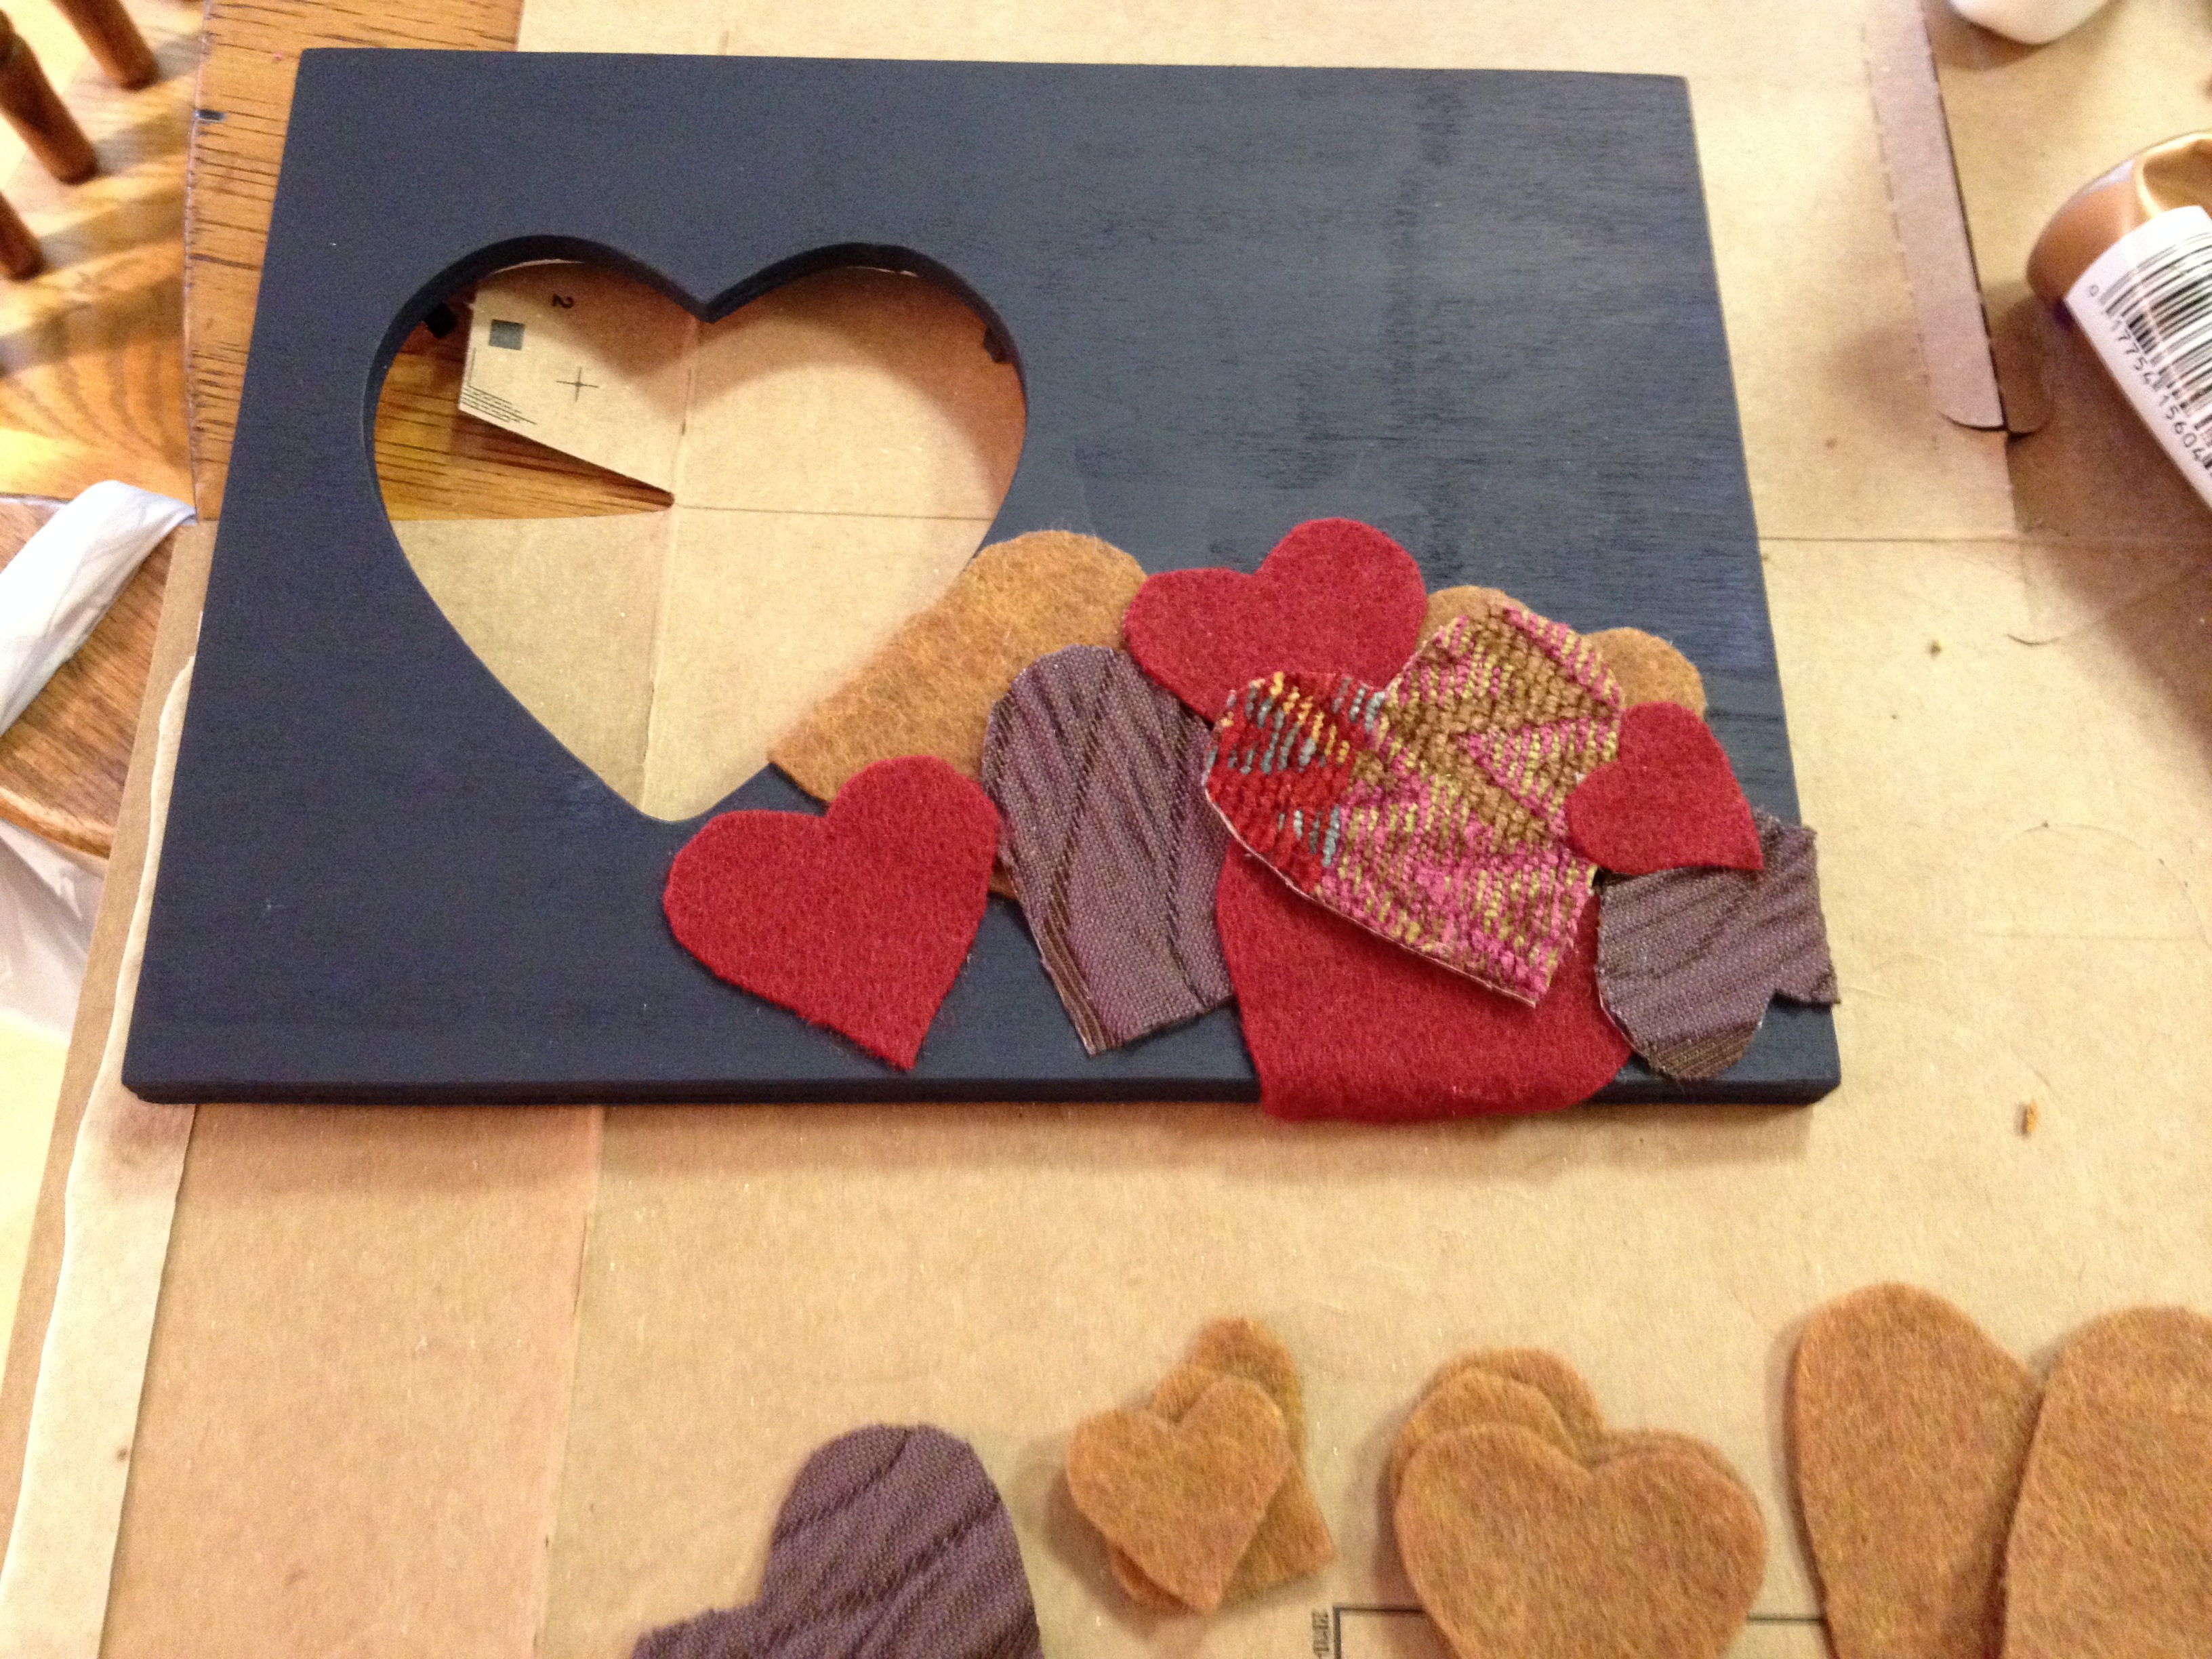
Starting to place the hearts
To accent the patterned hearts, I “traced” them in yarn. This makes them pop against the other colors.

“Tracing” the hearts in yarn
I used the yarn to finish off the interior of the heart and outline the outer edge of the frame. I think it looks a lot more expensive than its humble beginnings.

The finished frame
